Product Overview » Dedicated Systems » LM 2
Product Overview » Dedicated Systems » LM 2
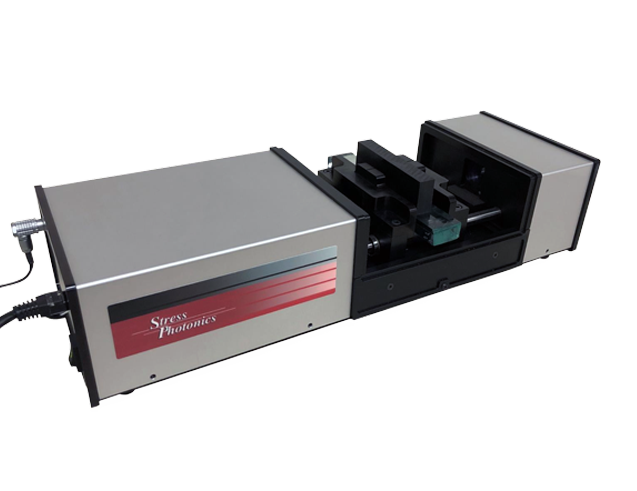
LAM MASTER 2
LamMaster 2
Laminar Stress Measurement System
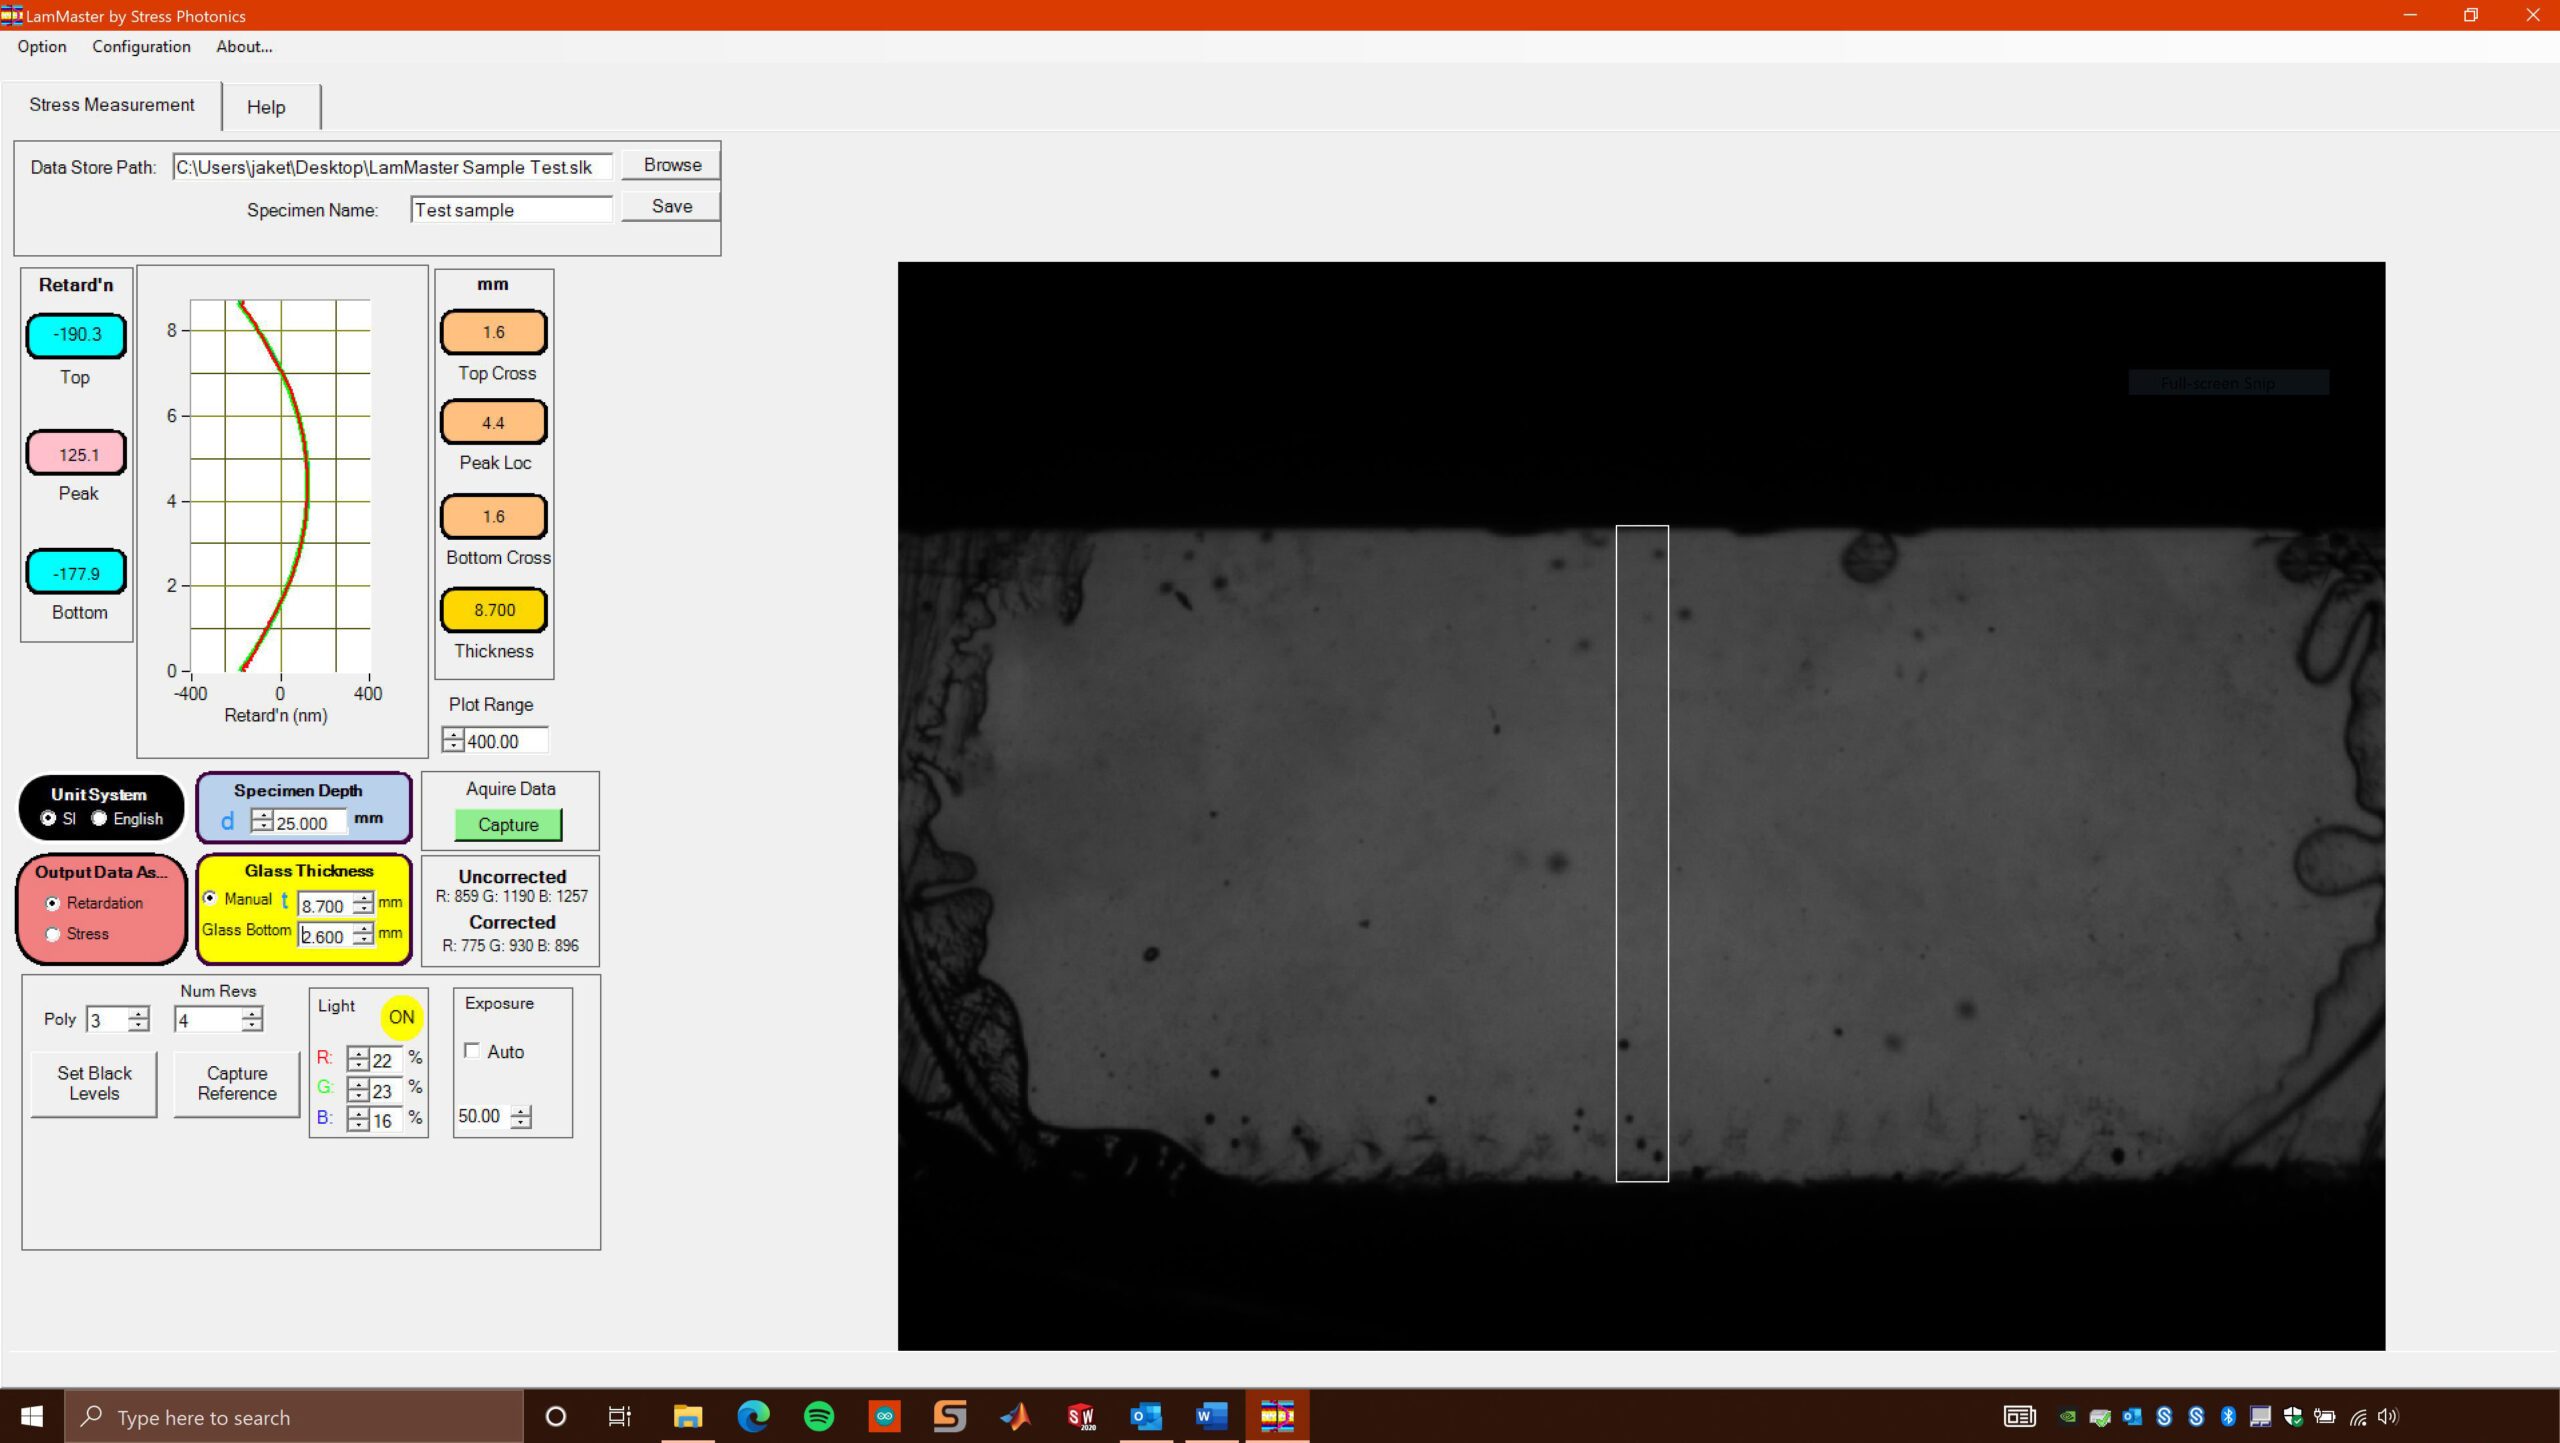
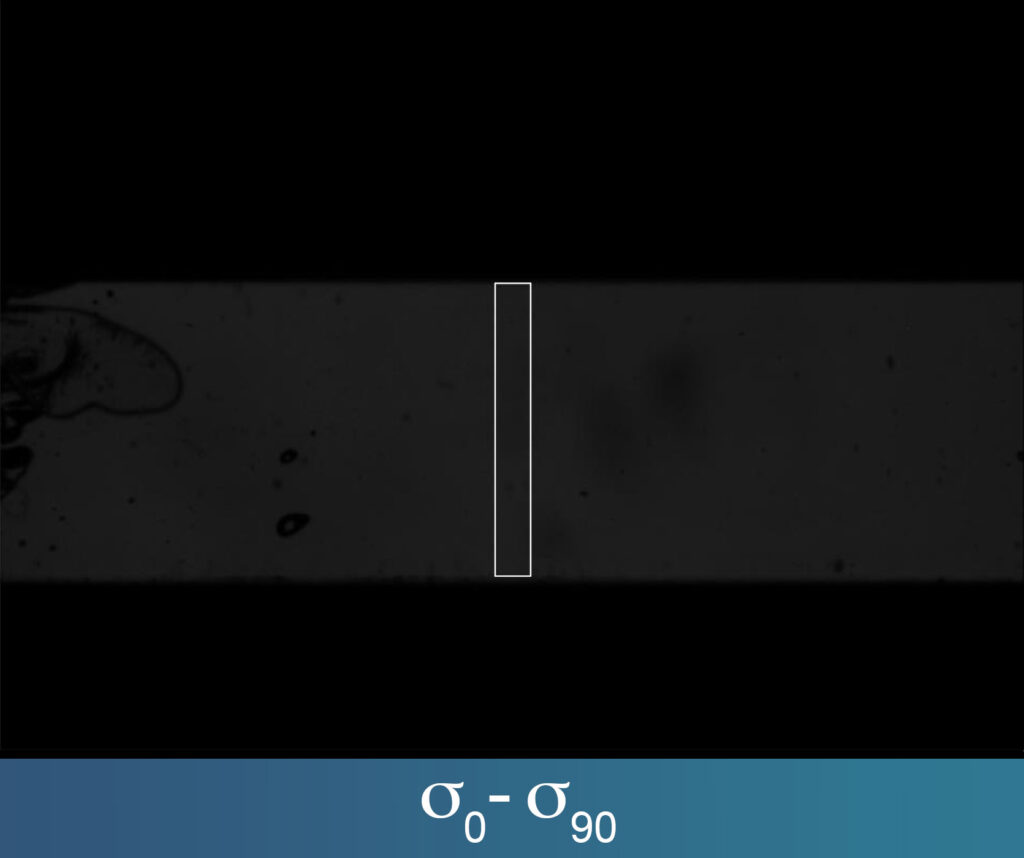
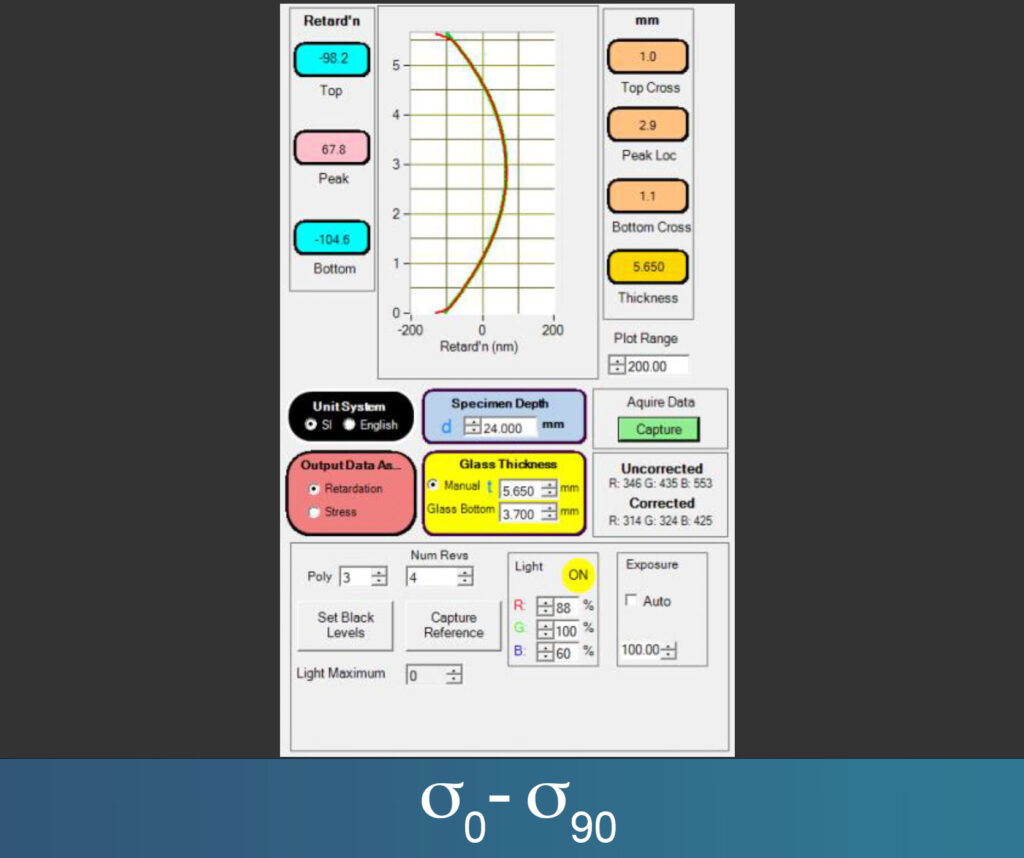
The LamMaster™ 2 can solve cutability problems by assessing the annealing quality of float glass. The system provides a quantitative parabolic through-thickness stress profile that displays the top and bottom surface compression, as well as the center tension.
The easy-to-use software allows for quick and simple data collection for many different tints and thicknesses of float glass. The LamMaster 2 is a complete turnkey solution that will allow you to collect, analyze, export, and organize all the stress data you need to improve your company’s manufacturing process.

Full-Featured Software–LamMaster™
The LamMaster 2 Photoelastic Stress Analysis (PSA) System is managed with easy-to-use LamMaster™ software—a versatile tool for capturing, presenting, analyzing, and archiving photoelastic data.
LamMaster Software Features
Among many other features, the LamMaster Software provides:
One-Click Data Collection
Through-thickness Stress Profile Information
Automatic Color Balancing for Tinted Glass
Exporting of Data Plots and Sample Information to .txt Format
Data plots can be saved for viewing in spreadsheets.
Standard Applications of LamMaster 2
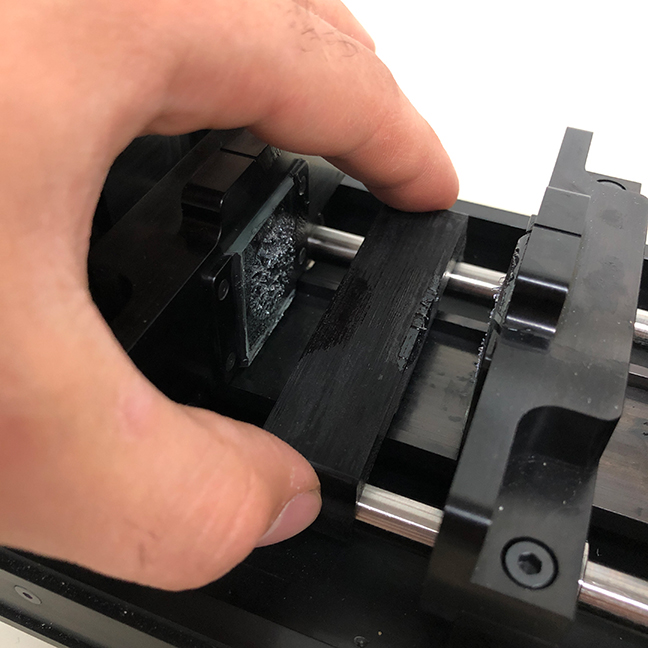
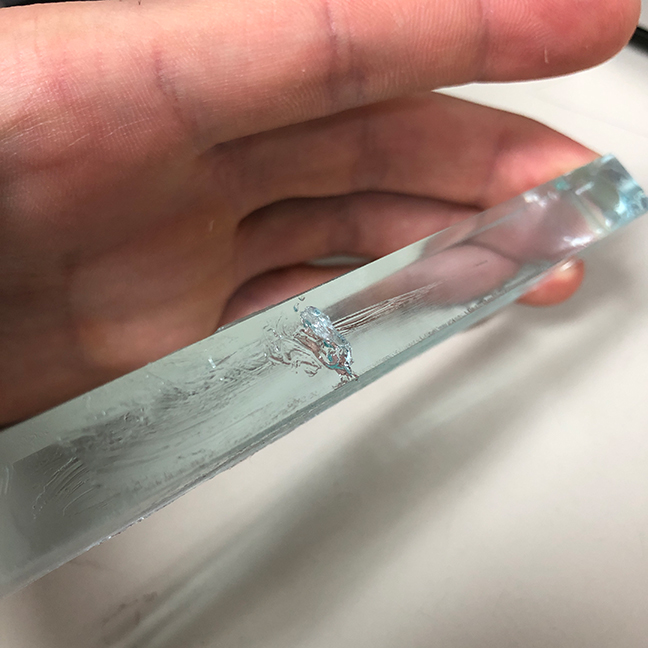
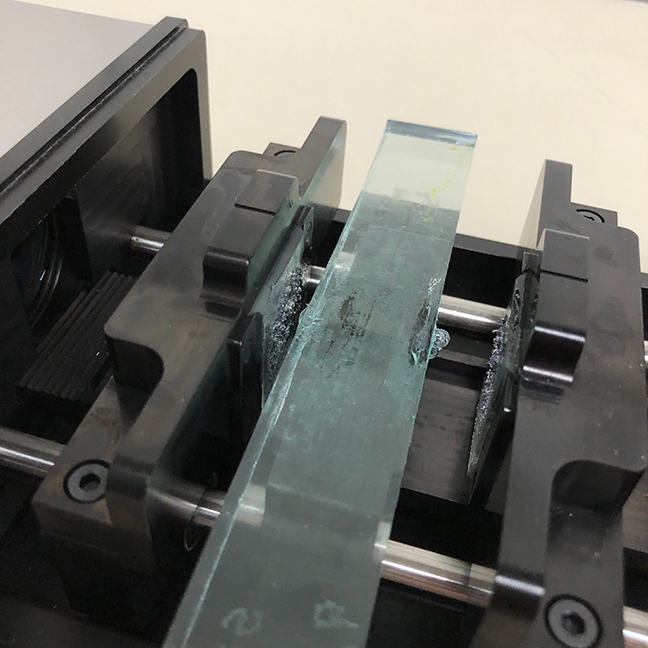
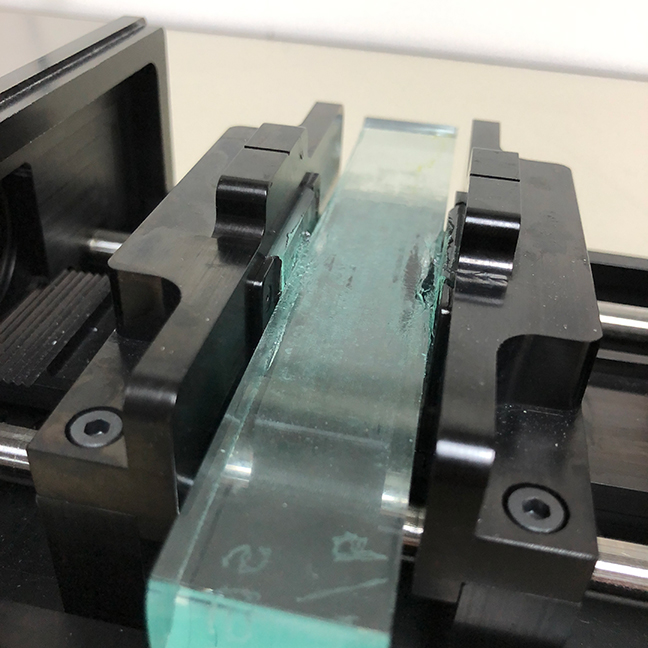
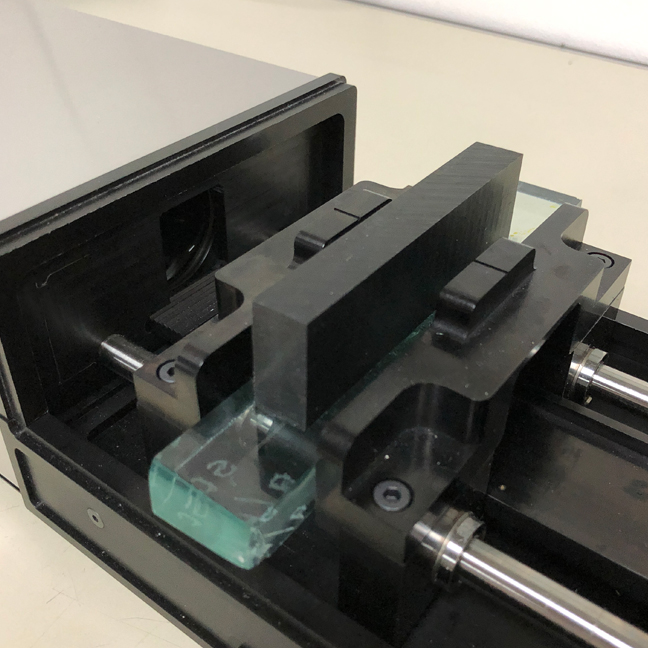
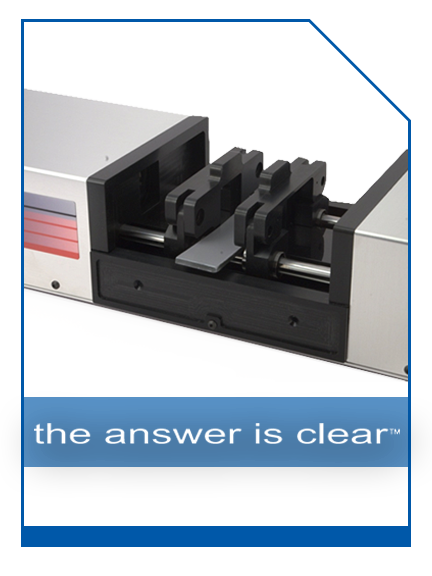
With the LamMaster 2, data collection is a snap. Simply insert the glass sample onto its spacer, dab a small amount of supplied matching index gel on the edges of the sample, and close the self-centering vise. The matching index gel minimizes the effects of imperfections, and the self-centering vise automatically aligns the sample and positions it for optimal performance. View the operational steps below, as well as LamMaster 2 applications.
2. Optical Gel
3. Sample Placement
4. Self-centering Jaws
5. Data Collection
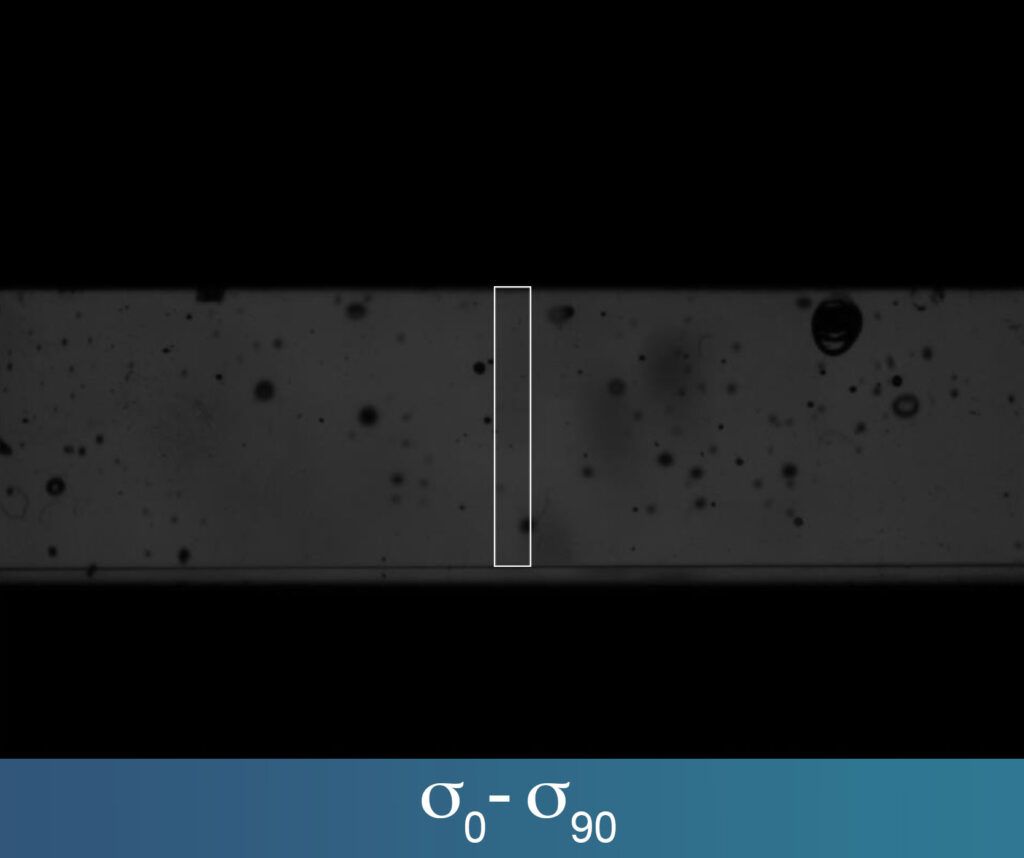
Laminar Stress of Tinted Glass
Laminar Stress of Tinted Glass
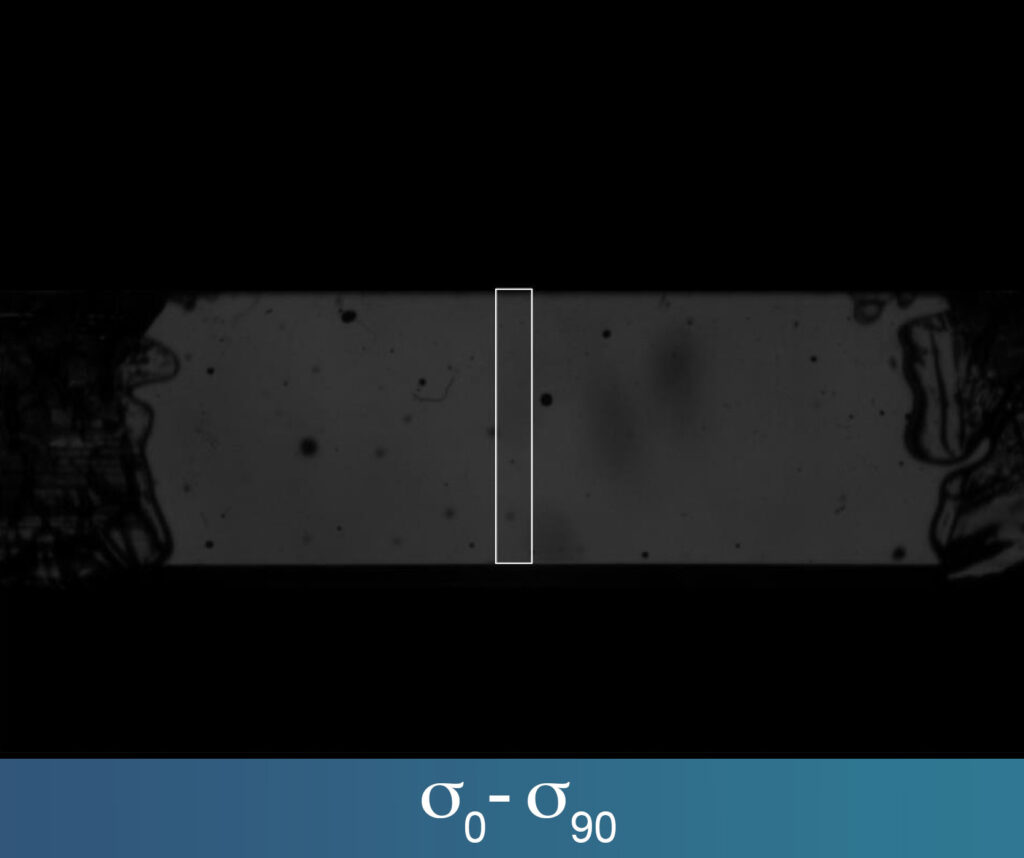
Laminar Stress of Fritted Spandrel Glass
Laminar Stress of Fritted Spandrel Glass
Laminar Stress of Fritted Spandrel Glass
Laminar Stress of Fritted Spandrel Glass
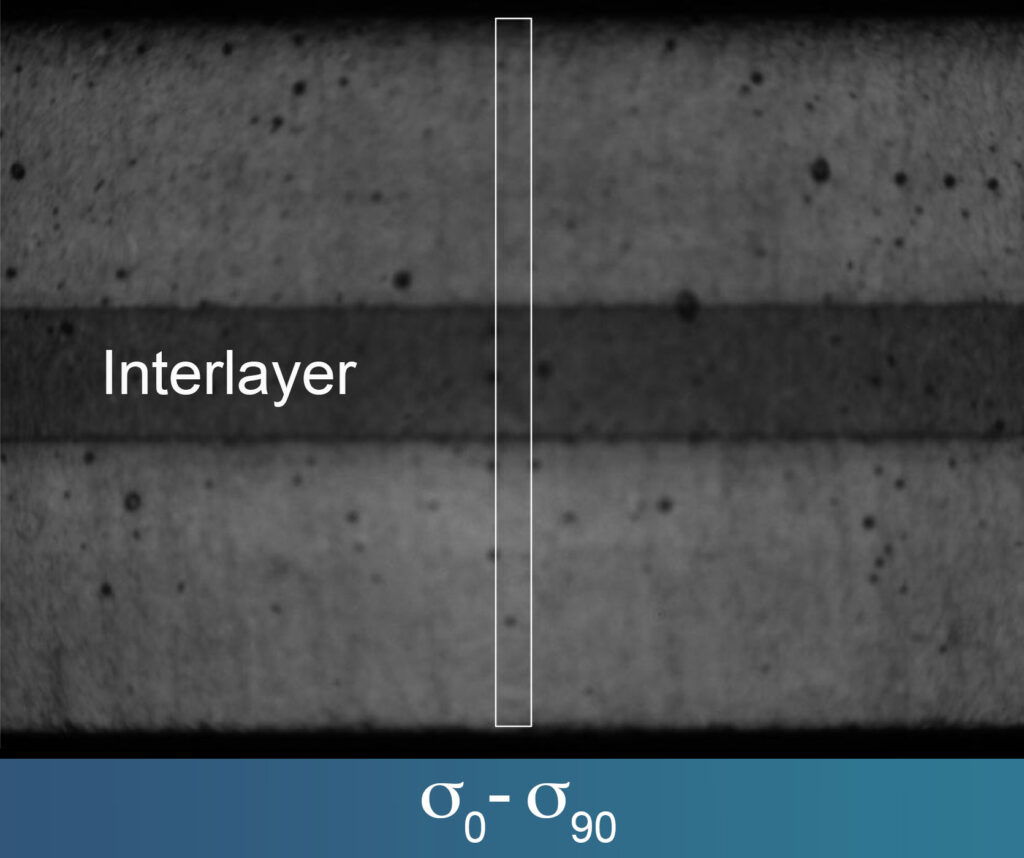
Laminar Stress of Laminated Glass
Laminar Stress of Laminated Glass
Uses and Features of LamMaster™ 2
Uses of the LamMaster 2 Laminar Stress Measurement System include manufacturing process set-up, control of manufacturing processes, assessment of windshield glass quality, incoming material inspection, and installed glass assessments.
Features
- Simple Turn-key System
- Easy Specimen Loading
- Minimal Specimen Preparation
- Integrated Data Base
- Calibration Standard
- Thickness stress profile reporting:
• Surface Compression
• Center Tension Maximum
• Location Zero Stress Points
Measurements
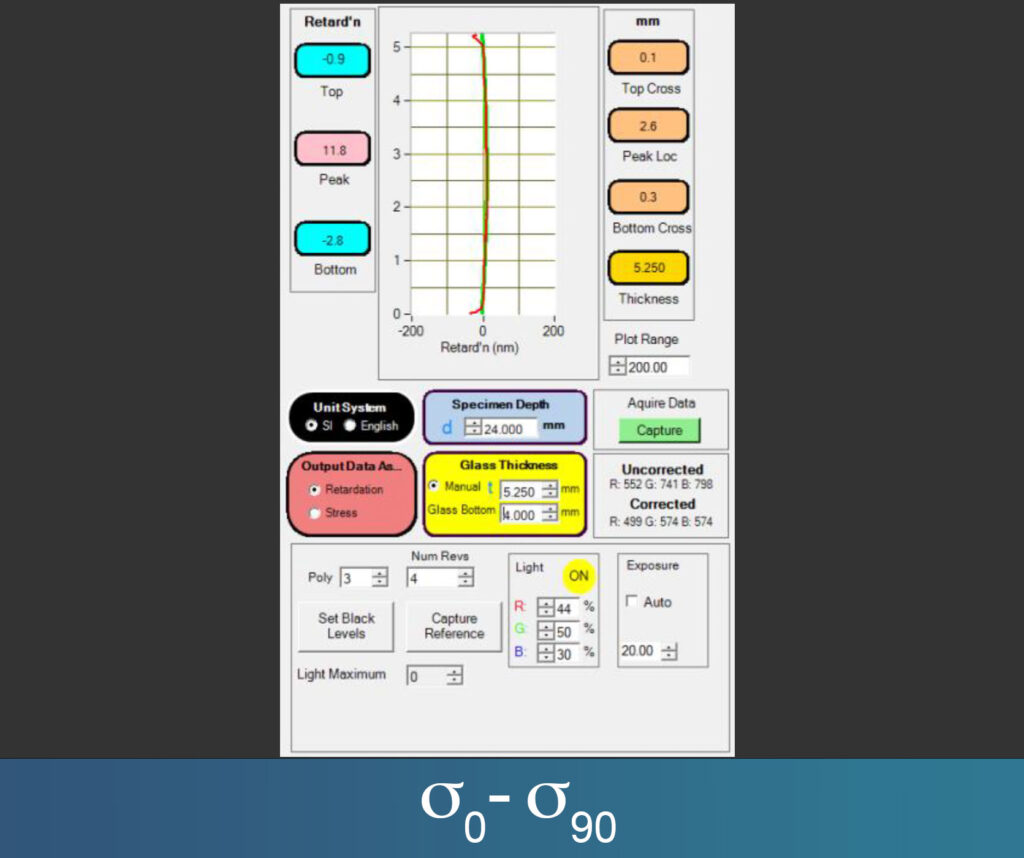
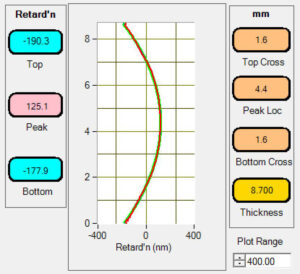
The LamMaster 2 provides stress outputs in terms of a parameters and a curve. The stresses at three locations—top surface, peak (center tension) and bottom surface of the specimen—are reported to the left of the plot. The locations of the zero stress points (Top Cross and Bottom Cross) are shown to the right of the plot. These values display the thicknesses of the top and bottom surface compression. The proper input of the specimen depth is important for a correct measurement. It is also important to note that the stress plot and values are automatically updated as the settings are changed.
Specimen
| SPECIFICATION | VALUE |
|---|---|
| Maximum Length | Unlimited if properly supported |
| Maximum Width | 100 mm |
| Minimum Thickness | 2 mm |
| Maximum Thickness | 15 mm |
| Glass Tint | Clear, Solar, Privacy |
| Edge Finish | As cut, within reason |
| Specifications are general. Definitive specifications are determined by application and will be reflected in final quote. |
Calibration
| SPECIFICATION | VALUE |
|---|---|
| Calibration | Insertable Waveplate (Typical 116 nm) |
| Specifications are general. Definitive specifications are determined by application and will be reflected in final quote. |
Instrument
| SPECIFICATION | VALUE |
|---|---|
| Size (H x W x D) | 95 x 140 x 410 mm |
| Weight | 3.5 kg |
| Power | 100-240 VAC, 3 A 50-60 Hz |
| Specifications are general. Definitive specifications are determined by application and will be reflected in final quote. |
Measurement
| SPECIFICATION | VALUE |
|---|---|
| Stress (Range) | 550 nm / 8.6 MPa @25 mm specimen width |
| Stress (Resolution) | 6 nm / 0.1 MPa @ 25 mm specimen width |
| Spatial Resolution | 0.1 mm resolution |
| Pixel Density | 71 pix / mm |
| Specifications are general. Definitive specifications are determined by application and will be reflected in final quote. |
Need help? Email our expert support team via our contact form or call us at +1 (608) 224-1230
Need help? Email our support
team via our contact form
or call us at +1 (608) 224-1230

Glass Photonics was founded by Stress Photonics to better serve the glass industry.
All products are manufactured by Stress Photonics Inc.

